
Choose pressure rinsing or hand cleaning by component
Heavy mud can hide damage and hold grit against an ATV, but removing it carelessly can drive water and debris into sensitive areas. Pressure washing is fast on some durable exterior surfaces; hand cleaning provides more control around bearings, seals, brakes, wiring, labels, controls, and openings. Most jobs benefit from a component-by-component plan rather than one method for the whole machine. Begin with the exact ATV owner’s manual and the pressure-washer or cleaner instructions, because construction and restrictions vary by model.
Prepare the ATV before washing
Let the engine, exhaust, brakes, and driveline cool. Park on a stable surface, switch the machine off, remove the key where the manual recommends it, and secure the ATV against movement. Inspect for leaking fluids, torn boots, loose connectors, damaged wiring, missing caps, open intake paths, and bent or broken parts. Photograph uncertain areas before cleaning so their original condition is documented. If mud conceals a leak or mechanical damage, stop and arrange service instead of washing evidence away.
Choose a wash location where runoff can be managed legally and where mud, oil, and cleaner will not enter storm drains or natural water. Remove large loose deposits with a gentle method that will not gouge plastic or scrape grit across paint. Do not pull on hoses or wiring to free packed mud. Check the manual before removing seats, skid plates, or access panels, and keep hardware organized if disassembly is authorized.
Where pressure washing may be appropriate
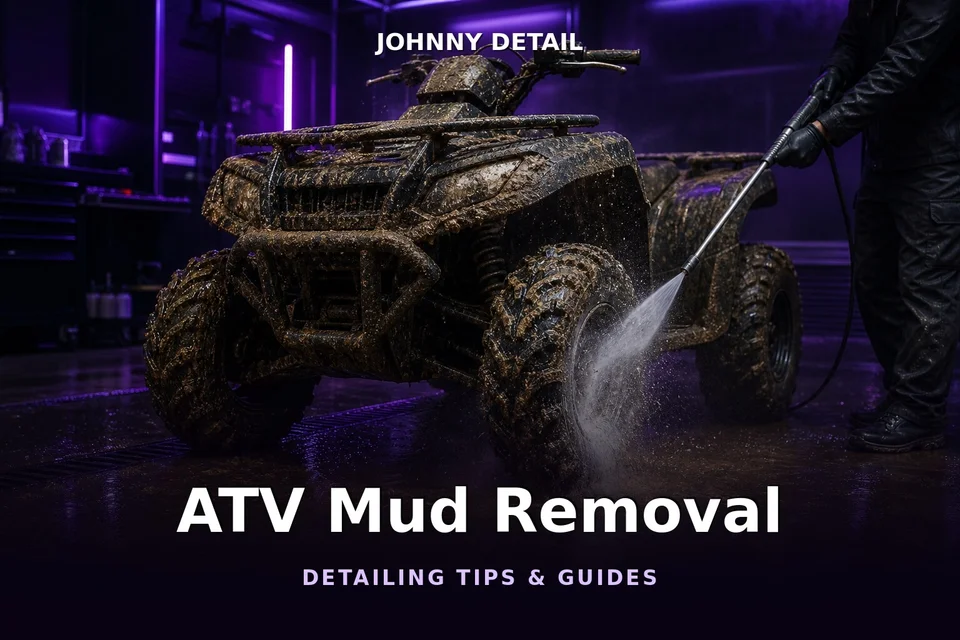
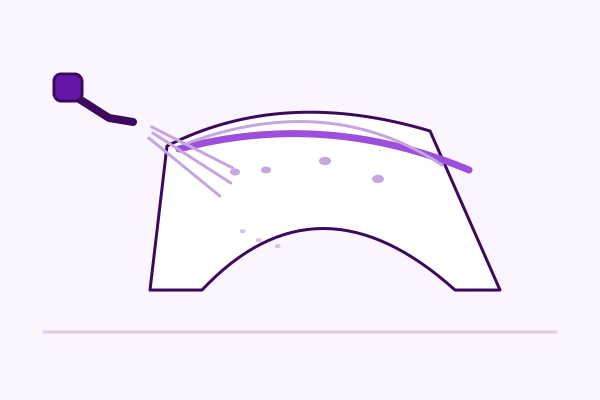
A pressure washer can help move loose mud from robust, accessible surfaces when the ATV manufacturer permits it. Use the washer’s approved accessory and begin with the gentlest effective approach at a conservative distance. Keep the stream moving and aim so debris exits rather than being driven deeper. Do not use a universal pressure number borrowed from another machine; nozzle design, distance, angle, surface, and washer output all affect the force reaching the component.
Avoid direct spray at wheel bearings, suspension seals, brake components, chain or belt housings, radiator fins, air intakes, exhaust openings, electrical connectors, switches, instruments, decals, warning labels, fuel-system parts, and damaged coatings. Hand-clean these areas under the owner’s guidance. Do not rely on tape or a plastic bag as proof that an electrical or intake opening is protected. If the manual prohibits pressure washing, use a controlled low-flow rinse and manual method instead.
Where hand scrubbing offers better control
Hand cleaning is useful around intricate assemblies and on surfaces where concentrated water could cause trouble. Use clean, soft brushes sized for the area and a cleaner labeled for the ATV’s plastics, paint, metal, rubber, and type of soil. Keep wheel, chain, and greasy underbody tools separate from body-panel tools. Apply cleaner in manageable sections, agitate gently, and rinse before residue dries unless the label directs otherwise.
Household detergent, solvent, and degreaser should not be substituted on assumption. Strong chemistry can affect graphics, coatings, rubber, adhesives, and unfinished metal. Never mix cleaners unless their labels explicitly permit it. If an area is oily, determine whether the source is ordinary chain fling or a mechanical leak before removing it. A recurring deposit may need repair rather than a more aggressive cleaner.

Use a hybrid cleaning sequence
A practical sequence is to remove loose deposits, rinse permitted broad areas gently, hand-clean sensitive and stubborn areas, then give compatible surfaces a controlled final rinse. Work from cleaner upper areas toward dirtier lower areas while watching where runoff travels. Inspect brushes and towels frequently and change them when they pick up grit. Avoid forcing tools behind seals, into connectors, or through radiator fins. Repeat only the step that remains necessary instead of exposing the whole ATV to another full cycle.
Dry and inspect rather than hiding moisture
Use clean towels on accessible surfaces and provide natural airflow. Compressed air is optional and should be used only under the air-tool and ATV manufacturers’ directions; it can force water or debris into connectors and seals. Do not start or run the engine merely as a drying shortcut unless the owner’s manual describes that procedure. Open approved access areas and check low points, fasteners, and electrical covers for trapped water.
After drying, inspect boots, seals, brakes, wheels, controls, lights, fasteners, and fluid levels as the manual directs. Cleaning may reveal corrosion, cracks, loose hardware, damaged wire insulation, or leaking components. Address those findings before the next ride. If cleaner or dressing reached a brake, tire, grip, foot control, or seat and secure operation is uncertain, do not ride until a qualified technician has evaluated the machine.
Protection and maintenance
A compatible protectant may help some plastics or coated metals shed routine soil, but it should never be sprayed across the machine indiscriminately. Keep it off brakes, tires, grips, controls, seats, hot parts, and surfaces excluded by the label. Rust inhibitors and coatings also require material-specific preparation and maintenance. They cannot reverse active corrosion or replace mechanical inspection. Clean by observed condition after rides and storage rather than following an invented universal schedule.
ATV owners can review Johnny Detail’s ATV detailing services and the ATV detailing article collection. For related material care, see the guides to ATV fender protectants and ATV engine-bay cleaning.
ATV Mud Removal Mastery: Pressure Wash vs Manual Scrub Guide FAQ
- Can I pressure-wash mud from an ATV?
Follow the ATV owner’s manual and pressure-washer directions. Keep direct spray away from bearings, seals, brakes, intake openings, labels, and electrical parts, and hand-clean sensitive areas.
- Can household detergent be used on an ATV?
Use a cleaner labeled for the ATV’s plastics, metals, coatings, and soils. Household products may leave residue or affect finishes, and cleaners should not be mixed unless their labels allow it.
- What is a cautious order for removing heavy mud?
With the machine cool, stable, and off, remove loose deposits gently, wash with compatible tools, rinse without driving water into sensitive areas, and inspect according to the owner’s manual.
- Is compressed air required for drying?
No. Towels and natural airflow may be appropriate for accessible areas. If compressed air is used, follow the equipment instructions and avoid forcing moisture or debris into connectors and seals.
- Where should an ATV protectant not be applied?
Use only a material-compatible product and keep it off brakes, tires, controls, the seat, grips, exhaust parts, and any surface where slipperiness or heat could create a hazard.
Manufacturer resources
Select the instructions matching your vehicle, material, and model year. These manufacturer resources provide care information for the brands and surfaces they cover.

Comments