
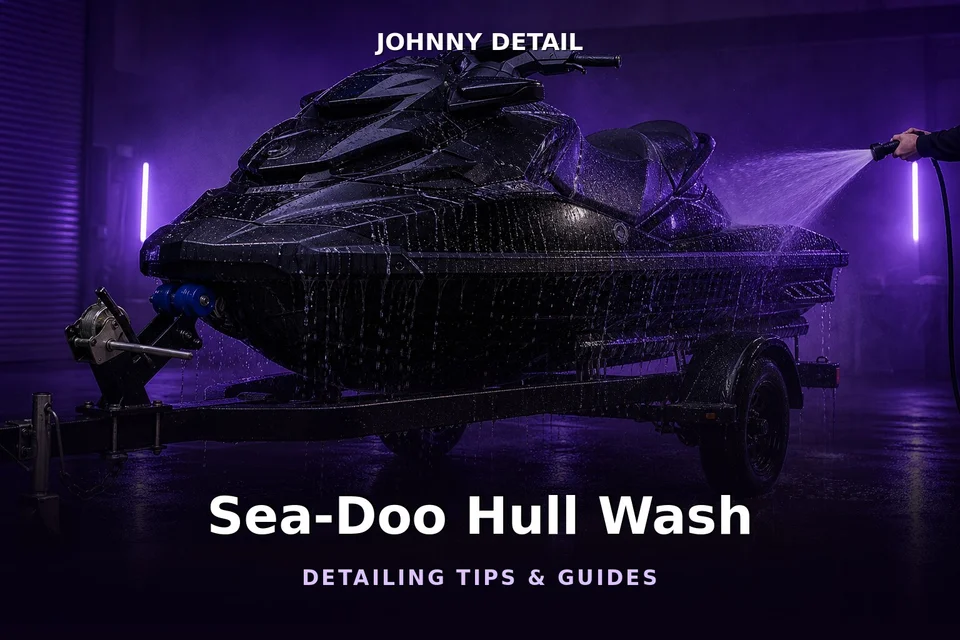
The operator’s guide controls the flushing sequence
Post-ride care for a Sea-Doo depends on the exact model, engine, cooling arrangement, hull material, and water conditions. The operator’s guide should be open before connecting a hose or starting the engine. Connection points, engine state, order of operations, and permitted duration can vary, and an incorrect sequence can allow water where it does not belong. This article explains how to plan the work, but it does not replace the model-specific flushing procedure.
Secure the watercraft and inspect it first
Position the Sea-Doo and trailer on a stable surface, use the trailer and watercraft restraints as directed, and keep the drain area clear. Remove the safety lanyard or handle it as the operator’s guide specifies. Check the hull, intake grate, jet pump area, drain plugs, sponsons, steering components, ride plate, trailer bunks, and tie-downs for visible damage or debris. Do not reach into the propulsion area or attempt to clear an obstruction without following the manufacturer’s shutdown and service procedure.
Saltwater and brackish-water use can leave residue on the hull, hardware, trailer, and cooling-related components, but freshwater use also may introduce minerals or biological material. Follow the guide for the water in which the craft was operated. If the Sea-Doo struck an object, ingested debris, overheated, displayed a warning, or has a leak, seek authorized or qualified service before routine washing masks evidence.
Rinse the exterior with material awareness
Allow exterior surfaces that will be touched or cleaned to cool. Remove loose sand and salt with a gentle rinse permitted by the operator’s guide. Avoid directing concentrated water at air intakes, electrical connections, controls, instrument seals, damaged decals, bearings, and other restricted areas. Pressure-washer settings cannot be generalized across hulls and components; use pressure washing only where the manufacturer permits it and begin with the gentlest effective approach.
Choose a wash product labeled for the confirmed hull, gelcoat or painted finish, plastic, rubber, metals, graphics, and trailer materials it will contact. Do not assume a household detergent or general boat acid is suitable. Work in manageable sections with clean, soft tools, and keep gritty lower-hull media separate from upper surfaces. Rinse cleaner as directed and manage runoff under local and launch-site rules.
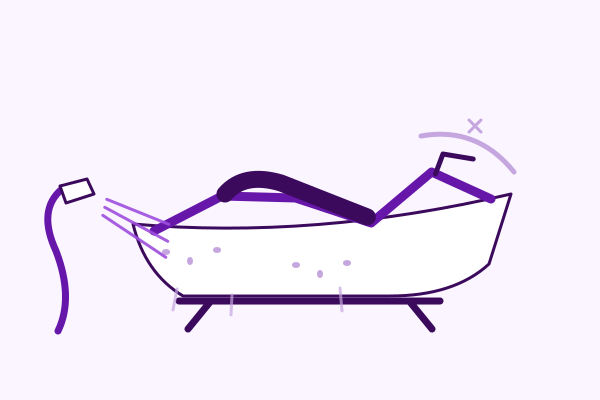
Follow the exact salt-flush procedure
Locate the correct flushing connector in the operator’s guide and inspect the hose and fitting before use. Follow the documented order for connecting water, operating the engine, supplying water, stopping flow, and disconnecting. Do not reverse the order, extend operation, or walk away while the system is running. Never infer a universal flow rate or flushing period from another Sea-Doo model, a different personal watercraft, or an online shortcut.
Use only water quality and additives approved by BRP or the applicable manufacturer documentation. A homemade corrosion inhibitor, salt-removal mix, or repurposed automotive chemical may be incompatible with seals, metals, coatings, or the cooling path. If an additive is allowed, follow its own label and the operator’s guide together. Do not mix chemicals or pour them into a connection not designed for that product.

Clean storage areas and the engine compartment cautiously
Open compartments only as the operator’s guide allows and remove loose gear. Wipe salt residue with a compatible method rather than flooding enclosed spaces. Around the engine compartment, avoid direct spray at electrical connections, air intakes, fuel-system parts, labels, and seals. If the guide calls for a particular rinse or corrosion-protection step, use the specified product and application points. Broad overspray can leave slippery or flammable residue where it is not intended.
Do not start the engine merely to dry the compartment or circulate an improvised product. Engine operation on a trailer must follow the model’s procedure. Fuel odor, damaged wiring, standing water in an unexpected area, loose clamps, or visible leaks require service before operation.
Dry and inspect the watercraft and trailer
Use clean, surface-compatible towels and ventilation. Compressed air is optional and should be used only when the air-tool and Sea-Doo guidance permit it; avoid forcing moisture into connectors or seals. Inspect metal hardware for deposits, pitting, coating loss, or discoloration. Check the hull and decals for gouges, lifted edges, stress cracks, or impact marks. A qualified marine technician should assess uncertain corrosion or structural damage.
Rinse and inspect the trailer as its manufacturer directs, including accessible frame areas, fasteners, lights, connector, winch, and bunks. Do not apply tire or metal dressing where it could affect traction, braking, electrical contact, or secure loading. Correct trailer faults before towing.
Prepare for storage without trapping moisture
Drain, ventilate, and position compartments according to the operator’s guide. Install drain plugs and covers in the specified storage or transport configuration. Use a compatible, well-fitted cover only after surfaces are sufficiently dry, and maintain ventilation as directed. Avoid sealing damp equipment inside the craft. Longer-term storage and winterization require their own model-specific procedures rather than an extension of the wash routine.
Johnny Detail’s Sea-Doo detailing services and Sea-Doo article collection provide related appearance-care context. For adjacent topics, see the guides to vinyl-seat UV protectants and surface-specific water-spot removal.
Sea‑Doo Full Hull Wash: Step‑by‑Step Salt Flush Guide FAQ
- When should a Sea-Doo be rinsed or flushed?
Follow the operator’s guide for the exact model and the water conditions in which it was used. Saltwater and brackish-water care may differ from freshwater maintenance.
- Why must the flushing sequence be model-specific?
Engine state, hose connection, order, and duration can vary by model. Follow the current operator’s guide exactly because an improvised sequence can damage the watercraft.
- Can I use a homemade salt-removal or corrosion inhibitor mix?
Use water and additives only as the operator’s guide and product labels permit. Do not assume a homemade mixture is compatible with metals, seals, coatings, or the flushing system.
- What tools are appropriate for washing the hull?
Choose soft, clean tools and a cleaner labeled for the confirmed hull and graphic materials. Spot-test first and avoid abrasive pads or aggressive work across decals and edges.
- What corrosion signs should be inspected?
Look for deposits, pitting, coating loss, discolored fasteners, and damaged electrical connections. Have uncertain or progressing damage assessed by an authorized or qualified marine technician.
- When should the watercraft be covered after washing?
Dry and ventilate it as the operator’s guide directs before using a compatible cover. Avoid trapping moisture in storage compartments or around the engine area.
Manufacturer resources
Select the instructions matching your vehicle, material, and model year. These manufacturer resources provide care information for the brands and surfaces they cover.


Comments