
Confirm what the RV exterior actually is
Fiberglass describes the underlying composite, not necessarily the surface being polished. An RV may have gelcoat, automotive-style paint, clear coat, decals, vinyl graphics, sealant, repaired panels, or several of these on one wall. Roof materials and trim add more variation. Check the RV builder’s care instructions and identify each finish before selecting a compound, pad, or protection product. A process suitable for oxidized gelcoat can damage thin paint, graphics, or a previously coated panel.
Wash and inspect before correction
Remove loose road film and grit with a compatible wash method. Work from a stable platform approved for the RV and follow ladder and roof-access guidance; do not lean tools or your body against unsupported panels. Use clean wash media and rinse it frequently. Dry gently, then inspect in diffuse light and with a controlled directional light. Note chalking, fine marring, stains, water spots, cracks, peeling clear coat, decal failure, exposed fibers, and previous repairs.
A chalky towel can suggest oxidation, but contamination, old wax, failed paint, and degraded gelcoat may look similar. Try a small nonabrasive cleaning test first. If the surface is cracked, soft, blistered, peeling, or visibly thin, polishing may make it worse. Consult an RV body or fiberglass repair specialist before continuing. Polishing cannot rebuild missing gelcoat, repair delamination, or stabilize a failed decal.
Define a realistic polishing goal
Swirl-free is an aspiration, not a guaranteed outcome. The practical goal may be to improve clarity, reduce visible oxidation, refine wash marring, or prepare a stable surface for protection while preserving material. Some defects are too deep to remove safely. Decide in advance which marks can remain. This reduces the temptation to keep compounding a thin edge or damaged area for a cosmetic result.
Build a test section
Choose a representative area away from a panel edge and graphics. Start with the least aggressive gelcoat- or paint-compatible polish and pad combination. Follow the product and tool instructions for setup, ventilation, pad use, residue removal, and inspection. Do not borrow a machine speed, pressure, temperature, or pass count from a different RV. Panel construction, product chemistry, pad type, tool throw, and operator movement all change the result.
Inspect the test after wiping residue with the method approved by the polish maker. Check from several angles for clarity, haze, micro-marring, color transfer, and uneven gloss. If the surface improves without unwanted change, repeat the controlled process section by section. If it becomes hazy, sticky, unusually hot, or shows coating transfer, stop and reassess. A paint-depth or coating assessment may be appropriate on uncertain finishes.

Use machine tools cautiously
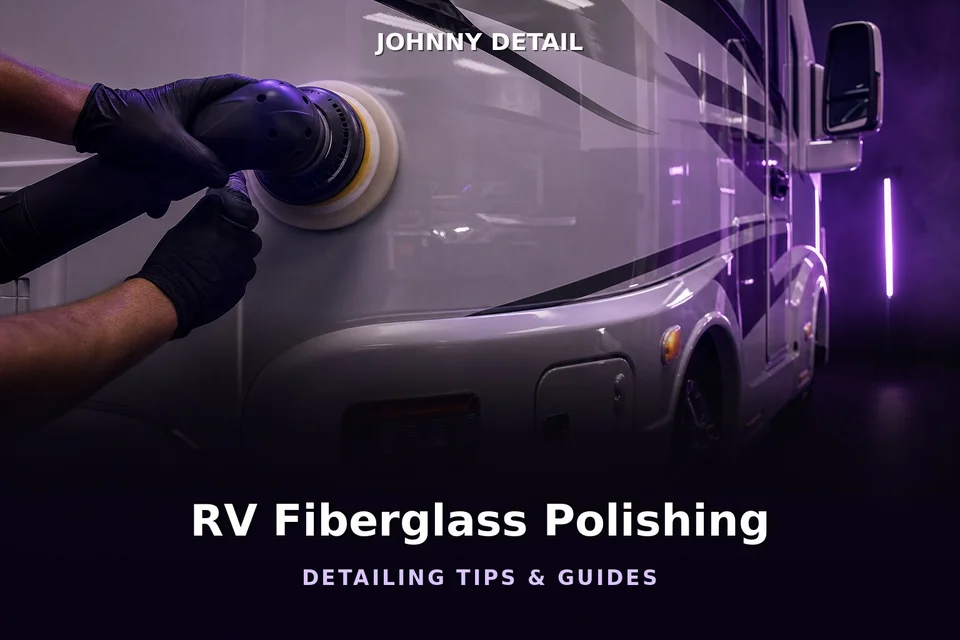
A dual-action polisher can offer control on broad stable panels, but it is not automatically safe. Pads can catch trim, cords can mark paint, and the tool can concentrate work at edges and seams. Keep pads clean, inspect them often, and replace one that becomes contaminated or damaged. Protect or avoid decals, seals, textured trim, lights, and thin edges. Hand polishing may be more appropriate in tight areas.
Large RV sides encourage long work sessions, which can lead to inconsistent technique. Divide the vehicle into clear sections, maintain lighting, and pause to inspect. Do not let dried residue build around graphics or caulking. If access requires unsafe reaching or the panel flexes under normal tool pressure, change the work setup or involve a professional.
Treat decals and repaired areas separately
Vinyl graphics can be thin, weathered, or lifting at the edges. Abrasive polishing can remove color or expose adhesive. Follow the graphic maker’s care guidance and use a nonabrasive compatible cleaner or protectant if allowed. Masking tape also can lift a weak decal, so test before masking. Repainted or repaired fiberglass may have different hardness and thickness from adjacent factory panels; keep it out of the general polishing routine until its finish is confirmed.

Choose protection as a system
Wax, synthetic sealant, and coatings require different preparation, cure, and maintenance. Confirm compatibility with the RV finish and with any residue left by polishing. A coating may demand controlled conditions and careful leveling that are difficult on a large exterior. A wax or sealant may be simpler to renew. No option removes the need for gentle washing, inspection, or repair, and advertised durability should not be treated as a universal service interval.
Reduce future marring
Pre-rinse loose grit, use clean wash tools, separate lower-panel media, and dry without grinding debris across the finish. Choose maintenance products compatible with the protection system. Inspect after long trips for insect residue, road film, and damage, but avoid abrasive polishing on a fixed mileage or calendar. Correct only when the condition and remaining finish justify it.
Johnny Detail’s RV detailing services and RV detailing article collection cover related exterior care. For fabric systems on the same vehicle, see the RV awning cleaning guide. An RV body or fiberglass professional is the right resource for delamination, cracks, failed coatings, or uncertain repairs.
RV Fiberglass Polishing: Swirl‑Free Shine for Long‑Haul Trips FAQ
- How can I distinguish oxidation from surface dirt?
Wash and inspect the surface before choosing an abrasive process. Persistent chalking may indicate oxidation, but staining, failed paint, and damaged gelcoat can look similar and may need professional assessment.
- Is a machine polisher appropriate for every RV exterior?
No. Confirm whether the surface is gelcoat, paint, a decal, or another coating. Test the least aggressive compatible process and use extra caution at edges, seams, and graphics.
- How often should RV fiberglass be polished?
Polish according to the surface condition and the product or RV maker’s guidance, not a fixed calendar. Because polishing removes material, avoid repeating it when cleaning or nonabrasive care will suffice.
- How do wax, sealant, and coating choices differ?
They can require different preparation, maintenance, and compatible cleaners. Check the RV finish and protection makers’ directions; no one system is automatically best for every exterior.
- How can washing reduce avoidable marring?
Remove loose grit first, use clean tools and a compatible wash product, and dry gently without grinding debris across the surface. Good technique can reduce marring but cannot guarantee a swirl-free finish.
Manufacturer resources
Select the instructions matching your vehicle, material, and model year. These manufacturer resources provide care information for the brands and surfaces they cover.

Comments